Zen Edge Database and Ado.net on Raspberry Pi

Do you have a data-centric Windows application you want to run at the Edge? If so, this article demonstrates an easy and affordable way to accomplish this by using the Zen Enterprise Database through Ado.net on a Raspberry Pi. Raspberry Pi features a 64-bit ARM processor, can accommodate several operating systems, and cost around $50 (USD).
These instructions use Windows 11 for ARM64 installed on a Raspberry Pi V4 with 8 GB RAM for this example. (You could consider using Windows 10 (or another ARM64-based board), but you would first need to ensure Microsoft supports your configuration.)
Here are the steps and results as follows.
- Use the Microsoft installed Windows emulation with Windows 11. ARM64bit for Windows 11 installer
- After the installer finishes, the Windows 11 directory structure should look like the figure below:

- The installer creates Arm, x86, and x64bit directories for windows simulation.
- Next, run a .Net Framework application using Zen ADO.NET provider on Windows 11 for ARM64 bit on Raspberry Pi.
Once the framework has been established, create an ADO.NET application using VS 2019 on a Windows platform where Zen v14 was installed and running.
To build the simple application, use a C# Windows form application, as seen in the following diagram.

Name and configure the project and point it to a location on the local drive (next diagram).

Create a form and add two command buttons and text boxes. Name it “Execute” and “Clear,” and add a DataGridView as follows.

Add Pervasive.Data.SqlClient.dll under project solution references by selecting the provider from C:Program Files (x86)ActianZenbinADONET4.4 folder. Add a “using” clause in the program code as
using Pervasive.Data.SqlClient;.
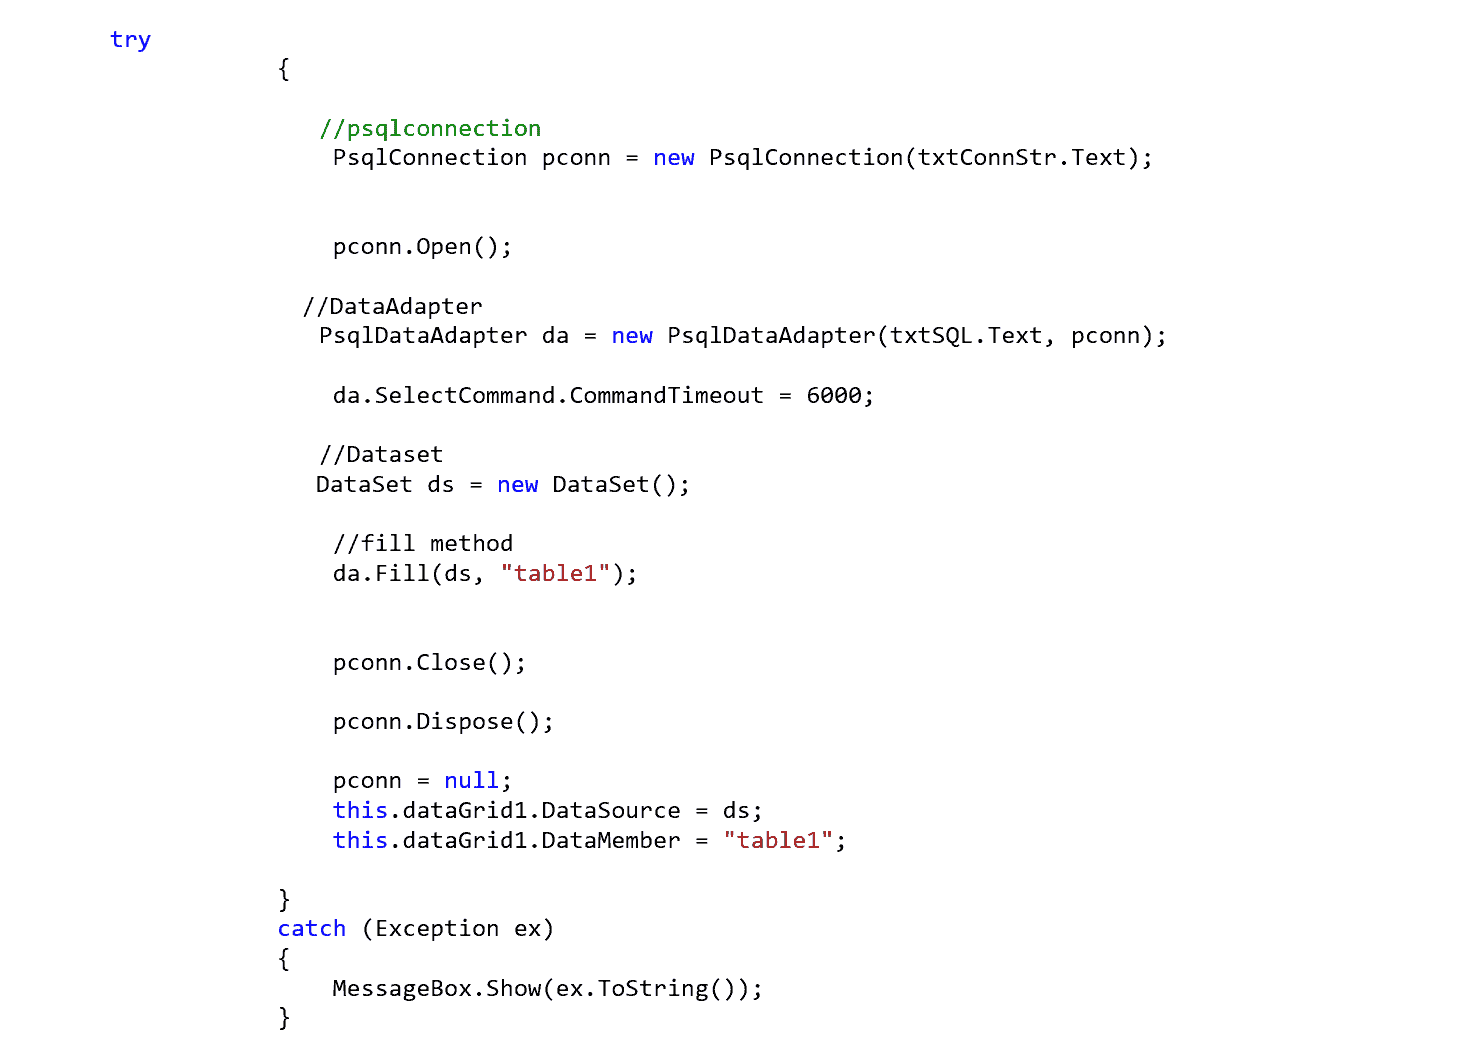
Add the following code under the “Execute” button.

Add the following code under the “Clear” button.

Then, add the connection information and SQL statement to the text boxes added in the previous steps as follows.

Now the project is ready to compile, as seen below.

Use a “localhost” in the connection string to connect to the local system where the Zen engine is running. This example uses the Demodata database “class” table to select data.
Se “Execute” will then return the data in the Grid as follows.

Now the application is ready to be deployed on Raspberry Pi. To do so, all copy the “SelectData.Exe” from the C:testSelectDataSelectDatabinDebug folder and Zen ADO.NET provider “Pervasive.Data.SqlClient.dll “. Copy it to a folder on Windows 11 for ARM64bit on Raspberry Pi.
Next, register the ZEN ADO.NET provider to the GAC using Gacutil as follows.
Gacutil /f /I <dir>Pervasive.Data.SqlClient.dll

Run the SelectData app and connect to a remote server where ZEN engine is running as a client-server application.
Change the server name or IP address in the connection string to your server where the Zen V14 or V15 engine is running.

Now the Windows application is running in the client-server using Zen Ado.net provider on a Raspberry Pi with Windows 11 for Arm64 bit installed.
And that’s it! Following these instructions, you can build and deploy a data-centric Windows 11 application on a Raspberry Pi ARM64. This or similar application can run on a client or server to upstream or downstream data clients such as sensors or other devices that generate or require data from an edge database. Zen Enterprise uses standard SQL queries to create and manage data tables, and the same application and database will run on your Microsoft Windows-based (or Linux) laptops, desktops, or in the Cloud. For a quick tutorial on the broad applicability of Zen, watch this video.
The post Zen Edge Database and Ado.net on Raspberry Pi appeared first on Actian.
Read More
Author: Johnson Varughese


